Reports Option Legacy Family Tree. If you are looking forward to knowing more about Reports on Legacy Family Tree then this is where you ought to be. Here you will find every detail regarding the Reports Option Legacy Family Tree.
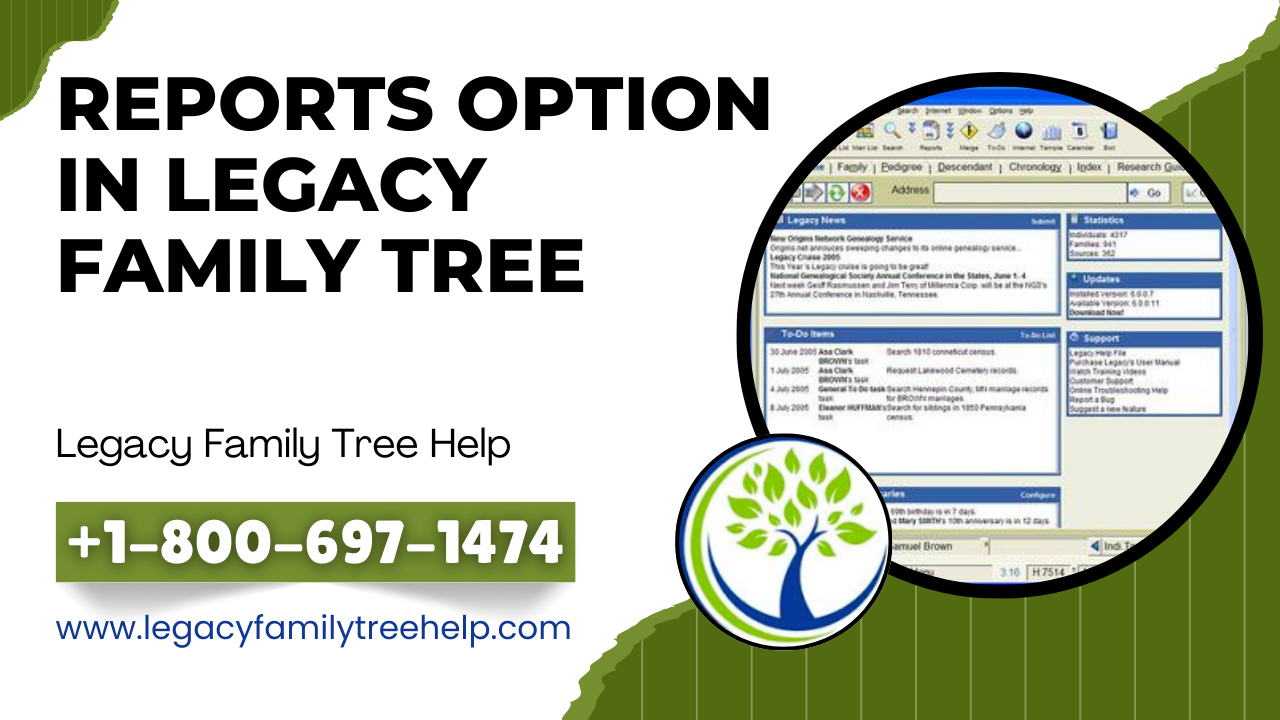
Do you know that when you click on the ‘Report Options’ button on many of the report menus open then the ‘Report Options’ window where there are eight tabs each containing several options which you can use to customize the printout.
You must know that only the options that apply to the current report are enabled and the remainder is grayed out.
Moreover, each tab and its options are described below so just read carefully to know more Reports Option legacy family tree.
Reports Option Legacy Family Tree
Tabs Included
You will find the following information also included in the report by checking the box which is associated with it:
- Address for Birth, Chr, Death, Burial, and Marr – Enter the address for these events.
- Age at Death – This indicates how old a person was when he/she died.
- Alternate Names – This has alternate names given as well as surnames included.
- Ancestral File Numbers – Ancestral File Numbers and also user ID numbers.
- BEPSC LDS Ordinance marks – This is if you print a Pedigree Chart then you can choose to include these markers to indicate which ordinances have been completed for each individual and marriage.
- Birth and Death Dates – The birth and death dates after names include parents, spouses, and children.
- Cause of Death – The causes of death as listed in the medical notes.
- Child Status – Such as Adopted, illegitimate, foster, etc.
- Child-parent Relationships – This is for any child-parent relationship other than Biological (default).
- Children of each spouse – Here you see all the children from each marriage; you also get to include blank spaces for additional children to be handwritten later.
More Included Tabs In Reports Option Legacy Family Tree
Here you will find more tabs:
- Christening date and place – For christening information.
- Last Modified date – This is where the date of a person’s individual or marriage record was last changed.
- LDS Ordinance Information – (Note that this is only visible if LDS options have been selected). Moreover dates and Temple information for LDS ordinances. So if you are printing a Family Group Record then the information can be printed along the right edge of the report.
- Marriage date and place – This is for the date and location of the marriage.
- Marriage Status – This is for the ending status of a marriage (divorced, annulled, etc). However, this is not printed if the status is ‘Married’.
- Other Parents – A list of any other parents to which an individual is linked.
- Other Spouses – A list of other spouses’ names (NOTE: also know that for book reports, the spouses are included in the order in which they are listed in the spouse list for the current person) so if you have turned off the ‘Other Spouses’ options then one spouse that is included in the report may not be the ‘Preferred’ spouse, but it would normally be the first spouse (this is if you have the spouse list in chronological order).
- RIN and MRIN Numbers – This means the ‘Record Identification Number. The RIN of each individual and the Marriage Record Identification (MRIN) of each marriage.
Included Tabs More Options In Legacy Reports
- Events – These are the events which are associated with an individual. It depends on the report style, you get to choose to print event information for the individual, marriage, and children. If you want to set the specific options available for events then you can click on the ‘Event Options’ button. However, if you have marked some events as ‘Private’ then they are excluded from the report by default. Moreover, if you want to include them in this report, then you should select the ‘Include events marked ‘Private’ option on the ‘Privacy Options screen.
- Address Information – This is where the address is entered for the individual.
- Ancestral File Number – These are the numbers which are assigned by FamilySearch in the past.
- FamilySearch ID – Now this ID number is assigned by FamilySearch to individuals who have already been linked with the FamilySearch database.
- Find a Grave ID – This is the memorial number that is associated with the record on the FindAGrave.com website.
- User ID #s – Includes both individual ID numbers and marriage ID numbers which have been entered by the user for individuals and Marriages. You can see the ‘User ID’ in the ‘Information Screen <information_screen.htm> the help topic and for the ‘Marriage User ID’ in the ‘Marriage Information <marriage_ information.htm> help topic.
Formatting Tabs Reports Option Legacy Tree
Now these options affect just how the reports would look:
- Boxes around Individuals – This feature draws boxes around individual information on Pedigree, Ancestor, and Descendant reports. Therefore you should specify a background shadow, box color, and corner style for the boxes if you want.
- Don’t repeat Duplicate lines – Do you know that duplicate ancestral lines can result from direct ancestral line relatives, two or more generations back, marrying each other? For example; let’s just say that your great-grandfather was married twice.
Then three generations later, his great-grandchild from his first wife married his great-grandchild from his second wife. Then this results in your mother and father, each having the same great-grandfather.
Stranger this also has happened! So when this happens then an ancestor style report will begin printing duplicate lines. But with Legacy, it recognizes when this situation occurs.
Therefore if this option has been selected then the duplicate line is identified on the report and it is then suppressed, which saves a lot of paper.
More Options In Formatting Tabs
- Don’t split children over page breaks – This assures that the information for each child does not begin near the bottom of a page and then continue to the next. (However, this option is only applicable to Family Group Records).
- Generation Numbers – This includes the generation number before the name when you print the ancestor and descendants charts.
- Highlight Direct Line Children – When you print a Descendant Chart, then the names of the direct line individuals are highlighted. (You will see the direct line children are marked as part of the ‘Set Direct Line as Preferred’ option). You can also check the ‘Set Preferred Line’ if you need more information.
- Lined Report – This feature adds vertical and horizontal lines to certain reports.
- Pack Information on One Line – Appends all the selected fields on one line when you print a Descendant Chart.
- Project Average Life for Living Individuals – You get to extend a life bar out to a specified number of years for individuals who are still living when printing a Timeline report.
- Use Quoted Names for Narratives – If the names are entered within the quotation marks then you can use them in narrative sections.
- Remove Quoted given names – You should exclude the quoted given names.
- Use full given names for narratives – here you need to use the full given names when you build a narrative sentence.
- Remove one or more leading commas – You should delete leading commas from the location names that have any number of commas at the beginning.
Black line, Shaded Box, Surnames, Summary Style in Formatting Tabs
- Blank line removal – This specifies the type of blank line removal when you print a Family Group Record.
- Shaded Subtitle boxes – You get a printed background grey color behind the name field on Family Group Records and also Individual Reports.
- Slashes Around /Surnames – If you select this option, then the surnames will be set off with slashes.
- Summary Style – This is a more open format available when you print an Individual and Family Group Repost.
Follow More steps for formatting tabs
- Use Short Location Names – You should choose to use the short location field from the master locations instead of the long name. This is useful when you do reports that do not have much room for the locations, such as the Pedigree Charts.
- Use Present tense for event and children section titles – Here you must use have and has instead of had and are instead of were for section titles that involve events and children.
- Uppercase SURNAMES – If you select this option then the surnames are set off in uppercase letters.
- Page Numbering – It determines the page numbering when you print batches of Family Group Records or Individual Reports. Hence you can have either each individual report restarted on page 1 or several numbers of all the reports consecutively.
- Event formation – Now if you use the ‘Deluxe Edition’ of Legacy then you have the events in a sentence format for each event type. If not the events will be printed in a list-style format with either leading numbers or bullet points. If you want to select the event formatting options then you should click on the ‘Event Narrative Format’ button.
- Event Addresses – Here you can include phone numbers, email addresses, and also home page URLs on your reports.
NOTES/Stories Tab
- Notes – This includes the General, Research, Medical, Marriage, and Spouse notes that have been enter for a person or marriage. However, the private notes are suppressed unless they are requested specifically.
- Story Options – This report includes all the main stories, spouse stories, and children stories. Besides it includes the story title, date, and location as well as a list of people who share each story. You can even add a blank line before you add additional information to the end of each story.
Sources Tab
- Print Source Citations – You can print where the information was found for the particular individual.
Where to print – When you print groups of reports such as Family Group Records and Individual Reports, then you can also choose to print the source citations pertaining to each report at the end of each one or all the citations can pertain to the whole group at the end.
Besides, when you print book reports, you can choose to print the citations as Footnotes, endnotes after each generation, or the endnotes at the end of the book.
Moreover, if the event has multiple citations then you could choose to combine all the citations for that particular event into one paragraph.
This feature is useful when events have lots of citations attached to them. Therefore if you combine the citation into one paragraph, it results in just one superscript number instead of a long string of numbers. This will then surely help you to save a lot of space.
NOTE: You need to know that if you choose to combine citations into one paragraph then you will not be able to include source pictures in the ‘Source Citations’ section at the end of the report.
Bibliography – This prints a bibliography at the end of the report. A bibliography is a list of books and other works that are cites in the report as sources.
Paragraph Style
Citation Paragraph Style – You get to choose between indenting the first line and hanging the indent.
- Other Source Items to Include – Here you can include any or all of the parts of a source entry mentioned below;
- Include Repository
Include phone numbers
Include e-mail address
Include the home page address
Include the Recorded Date
Include the File ID
Include the Surety Level - Include Master Source Pictures – You can include the preferred images if any for each master source.
- Include Detail Source Pictures – Here, you get to include the preferred image (if any) for each source citation detail.
- Set Source Options – You get to choose the relative size of the pictures printed such as small, medium, or large or a specific width. Moreover, the pictures can also be print with their captions and descriptions. You can even print them with a background shadow of various shades and widths. To be able to select or change the picture options, you would need to click on the ‘Set Source Pictures Options’ button. This is the ‘Picture Options <hs259.html> screen where you can make the changes.
NOTE: If you select the option to ‘Combine multiple citations into one paragraph, you cannot include source pictures.
Print Husband, Wife, and Children Pictures
Here you will learn how to print pictures of husband, wife, and children.
Pictures of husband and wife – This prints the preferred picture for each individual if any.
Pictures of Children – This prints the preferred picture for each child on certain reports only if any.
Event Pictures – You can link event pictures to the event information on the “Include” tab and add them (This is also an option there). You just need to select this option in either place you want).
NOTE: If you are compiling a narrative report in paragraph form, you will not include any vital pictures linked to birth, christening, death, and burial.
Pictures Report Option In Legacy Family Tree
Story Pictures – Here it prints the preferred picture for each story included in the reports.
Pictures to print Inline – You can print the ‘Preferred’ and ‘Tagged’ pictures, or the non-tagged Preferred pictures.
Embedding Pictures in RTF Reports – When you generate reports to an RTF file, you can embed picture links in the file. When opening the file in MS Word or other word processors, the embedded pictures in the report will automatically display. The Deluxe Edition only features the display of picture paths in the document. In the Standard edition, you don’t see picture paths.
NOTE: You insert pictures into the document, with links to the actual files included. When you load the document into the word processor, it retrieves and displays the pictures from your hard disk.
They will not be able to see the pictures if you send the document to them unless the images are located in the same places on their computer. Furthermore, many word processors also have an option to save the pictures within the document itself. You can find it in the “Edit” menu’s “Links” section in MS Word.
Then from here, you can just choose to have the pictures into the document. When you send a much larger file after the pictures display as expected, it results in this.
You also need to know that there is no attempt to resize the pictures or justify them to the left or right side of the page. You will need to resize them as well as reposition them where you want them to be on the page.
Set Regular Pictures Options
You will need to click on this button to have the ‘Pictures Options’ screen displayed when you can easily set all the size and caption options.
Set Source Picture Options
You can click on the Pictures Options screen to display it where you can set all the size and caption options for the pictures included with source citations.
Privacy Options
We understand that privacy is a great concern for everyone when it comes to printing reports and books. Therefore Legacy provides many options to the users so that you can suppress and eliminate sensitive information, individuals, and marriages; these also include the following;
You would need to start by opening the ‘Privacy Options’ screen by clicking on the ‘Privacy Options’ button that is along the right side of the screen. You can also see ‘Privacy Settings’ for more information regarding marking that individuals and marriages are private.
Suppression of Living Individuals and their Families
- Suppress Details for Living People
- Exclude Living People Totally
- Suppress Details for Deceased Spouses of Living Individuals
- Suppress Details for Deceased Children of Living Individuals
Override Privacy Settings
- Include Private Individuals
- Include Invisible Individuals
- Include Private Marriages
- Include Private Child-Parent Relationships
- Include (Private) Notes
- Mark ‘Private’ events as inclusions in the events list.
- Include Master Events Marked as ‘Private’.
- Include Stories Marked as ‘Private’.
Page Setup, Headers, Footers
Do you know that you can also set the page margins, page orientation, page size, border lines, header position, page numbering, compiler information, and the footer settings by giving a click on the ‘Page Setup Headers, Footers…’ button that is at the right side of the window. Doing the action will display the ‘Page Setup’ screen.
Report Fonts
Here you get to select the fonts and the font sizes for the various sections of the report only by clicking on the ‘Report Fonts’ option which is at the right side of the window.
Need Help?
If you need any help regarding ‘Reports Option Legacy Family Tree’ you can call us at +1-800-697-1474 or the Live chat option is also available. Our experts are 24/7 available.
FAQS
Answer:- If you are looking forward to doing a free Ancestry search with no subscription then you would be glad to know that Ancestry.com has a number of free collections which include census records, immigration records, military records, etc.
Answer:- FamilySearch Genealogists is a large directory of family trees, widely known as lineages or pedigrees, which people across the globe enjoy using.
Answer:- You can easily contact Legacy Family Tree at sales@legacyfamilytree.com regarding billing or your account. For technical support, you can contact Support at support@legacyfamilytree.com.